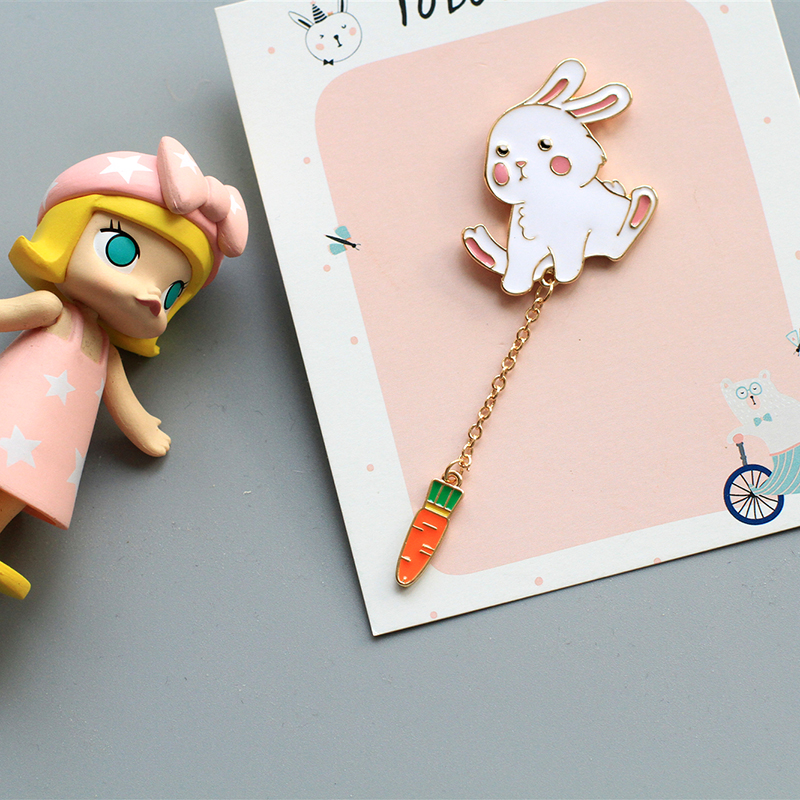
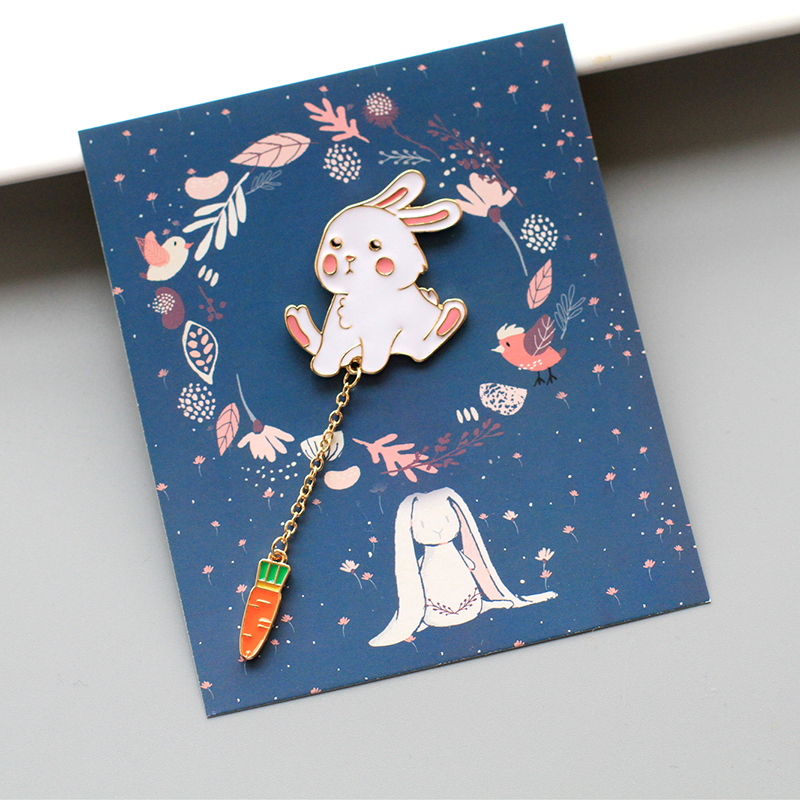
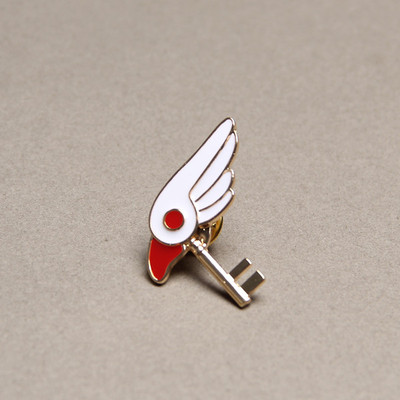
| | Custom Enamel Pin Metal Pin Lapel Pin |
| | Zinc Alloy / Iron / Brass etc.
|
| | Soft enamel, Hard enamel ,screen printing, Offset, 3D |
| | 0.5inch,1inch,1.25",1.5",2inches,2.5",3".3.5"...etc(According to customer request)
|
| | Gold/Silver/Nickel/Copper/Rose Gold/Rainbow/Dye metal/ Antique plating etc. |
| Attachment | Rubber/Jewelry/Deluxe/Butterfly clutch/Safety Pin/Magnet/Key chain etc. |
| Packing | Backing Card/OPP/Bubble bag/Acrylic box/Paper box etc. |
| MOQ | 10pcs |
| Lead Time | Sample: 7~10days,Mass production: 10~15days |
| Payment | 50% advance payment to start production |
| Shipment | FedEx / DHL / UPS / TNT etc. |
How to store your enamel pin long term:
1. Store individually: To prevent scratches or damage from contact with other items, store your badge separately in a soft pouch or a dedicated badge storage box.
2. Check periodically: Regularly inspect your badge for any signs of damage or deterioration. If you notice any issues, take appropriate measures to address them promptly.
3. Avoid extreme temperatures: Keep your badge away from extreme temperatures, as fluctuations in temperature can cause the metal and enamel to expand or contract, leading to damage.
4. Handle with care: When handling your badge, do so with clean hands and avoid touching the enamel surface directly to prevent oils and dirt from transferring onto it.
How to make an enamel pin: perfect design
Creating a perfect design for an enamel pin involves several key steps:
1. Conceptualize your design: Start by brainstorming ideas and concepts for your enamel pin. Consider the theme, style, colors, and elements you want to incorporate into the design.
2. Sketch your design: Create a rough sketch or digital mockup of your design to visualize how it will look as an enamel pin. Refine the design until you are satisfied with the overall look and feel.
3. Consider size and shape: Enamel pins come in various sizes and shapes, so consider the dimensions that will best showcase your design. Keep in mind that intricate details may be challenging to reproduce in smaller sizes.


