Introduction
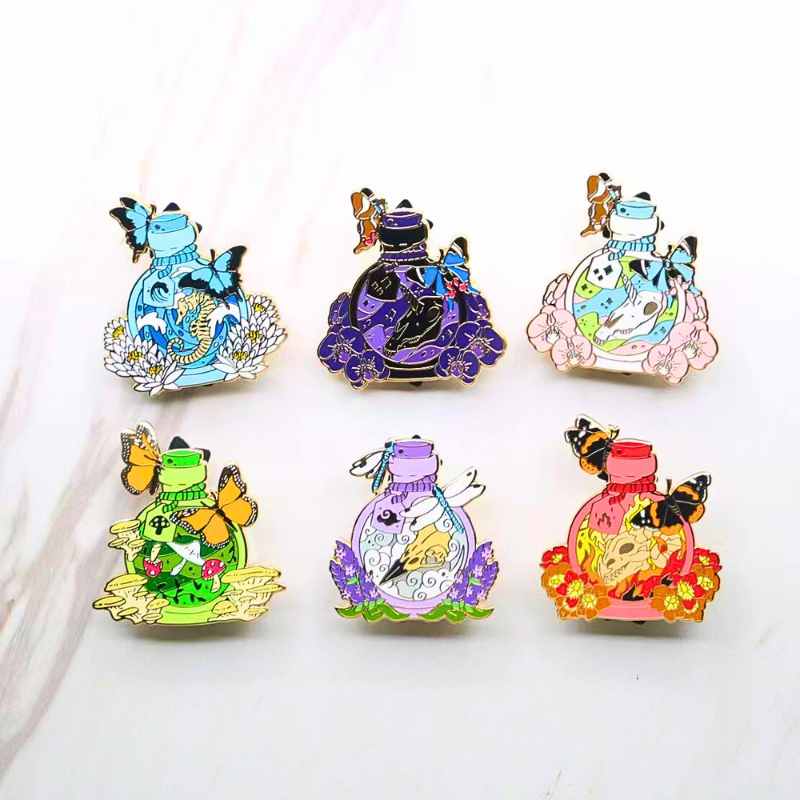
Custom lapel pins are a popular and versatile way to express individuality, commemorate special events, or promote a brand or organization. Whether you're a business looking to create branded merchandise or an individual wanting a unique keepsake, this guide will walk you through the process of making custom lapel pins. From design to production, we'll cover everything you need to know to create high-quality, personalized lapel pins that stand out.
Step 1: Designing Your Custom Lapel Pin
The first step in creating custom lapel pins is designing the pin. This involves deciding on the size, shape, and color scheme of the pin, as well as any text or graphics you want to include.
- Size and Shape: Consider the intended use of the pin when deciding on its size and shape. Smaller pins are more subtle and versatile, while larger pins make a bolder statement. For example, a 1-inch pin is ideal for everyday wear, while a 2-inch pin can be used for special occasions or as a statement piece.
- Color Scheme: Choose colors that reflect your brand or personal style. Consider using complementary colors to make the pin visually appealing. For instance, if your brand colors are blue and white, you can use these colors to create a cohesive look.
- Text and Graphics: If you want to include text or graphics on the pin, make sure they are clear and legible. Simple designs are often more effective than overly complex ones. For example, a logo or a simple icon can be more impactful than a detailed illustration.
Step 2: Choosing the Right Materials
The materials you choose for your
custom lapel pins will affect both the appearance and durability of the final product.
- Metal Base: The most common metal bases for lapel pins are copper, brass, and iron. Copper is the most affordable option, while brass and iron offer a higher level of durability. For a premium look, consider using stainless steel or silver.
- Enamel: Enamel is used to fill in the design on the pin. There are two main types of enamel: soft enamel and hard enamel. Soft enamel has a slightly textured finish, while hard enamel has a smooth, glossy finish. Hard enamel is more durable and has a higher perceived value.
- Plating: Plating is used to give the pin a protective coating and enhance its appearance. Common plating options include gold, silver, nickel, and antique finishes. Gold plating adds a touch of luxury, while nickel plating provides a sleek, modern look.

Step 3: Selecting a Manufacturer
Once you have your design and materials ready, it's time to choose a manufacturer to produce your custom lapel pins.
- Research: Look for manufacturers with a good reputation and experience in producing custom lapel pins. Read reviews and ask for samples to ensure the quality of their work. Check their portfolio to see if they have experience with similar projects.
- Quote: Get quotes from several manufacturers to compare prices and lead times. Make sure to provide detailed information about your design and materials to get an accurate quote. Ask about any additional fees, such as setup charges or shipping costs.
- Minimum Order Quantity: Some manufacturers have a minimum order quantity (MOQ) requirement. Make sure to check this before placing your order. If you're ordering a small batch, look for manufacturers that offer low MOQs or no MOQ at all.
Step 4: Production Process
The production process for custom lapel pins typically involves several steps.
- Die Striking: The design is stamped into the metal base using a custom die. This process creates a raised or recessed design, depending on the desired effect.
- Enameling: The enamel is applied to the recessed areas of the design. This is typically done by hand or using a machine. The enamel is then fired in a kiln to cure and harden.
- Plating: The pin is plated with the chosen metal to give it a protective coating and enhance its appearance. The plating process involves electroplating the pin with a thin layer of metal.
- Quality Control: The pins are inspected for any defects or imperfections. Any pins that do not meet the quality standards are discarded. This ensures that only high-quality pins are shipped to the customer.

Step 5: Finishing Touches
Once the production process is complete, there are a few finishing touches to consider.
- Backing: Choose a backing for your
lapel pins, such as a butterfly clutch or a pin back. This will ensure the pin stays securely in place. For a more secure option, consider using a locking pin back.
- Packaging: Consider how you will package your lapel pins. Custom packaging can add a professional touch and make the pins more appealing as gifts or merchandise. Options include custom boxes, display cards, or velvet pouches.
- Shipping: Arrange for shipping of your custom lapel pins. Make sure to choose a reliable shipping method and provide tracking information to your customers. Consider offering expedited shipping for urgent orders.
Conclusion
Creating custom lapel pins is a fun and rewarding process. By following these steps, you can design and produce high-quality, personalized lapel pins that meet your specific needs. Whether you're creating pins for a special event, as a gift, or for promotional purposes, custom lapel pins are a great way to make a lasting impression. With the right design, materials, and manufacturer, your custom lapel pins will stand out and be cherished for years to come.


